React Native for Cross-Platform Mobile Development: Building Apps for iOS and Android
Table of contents
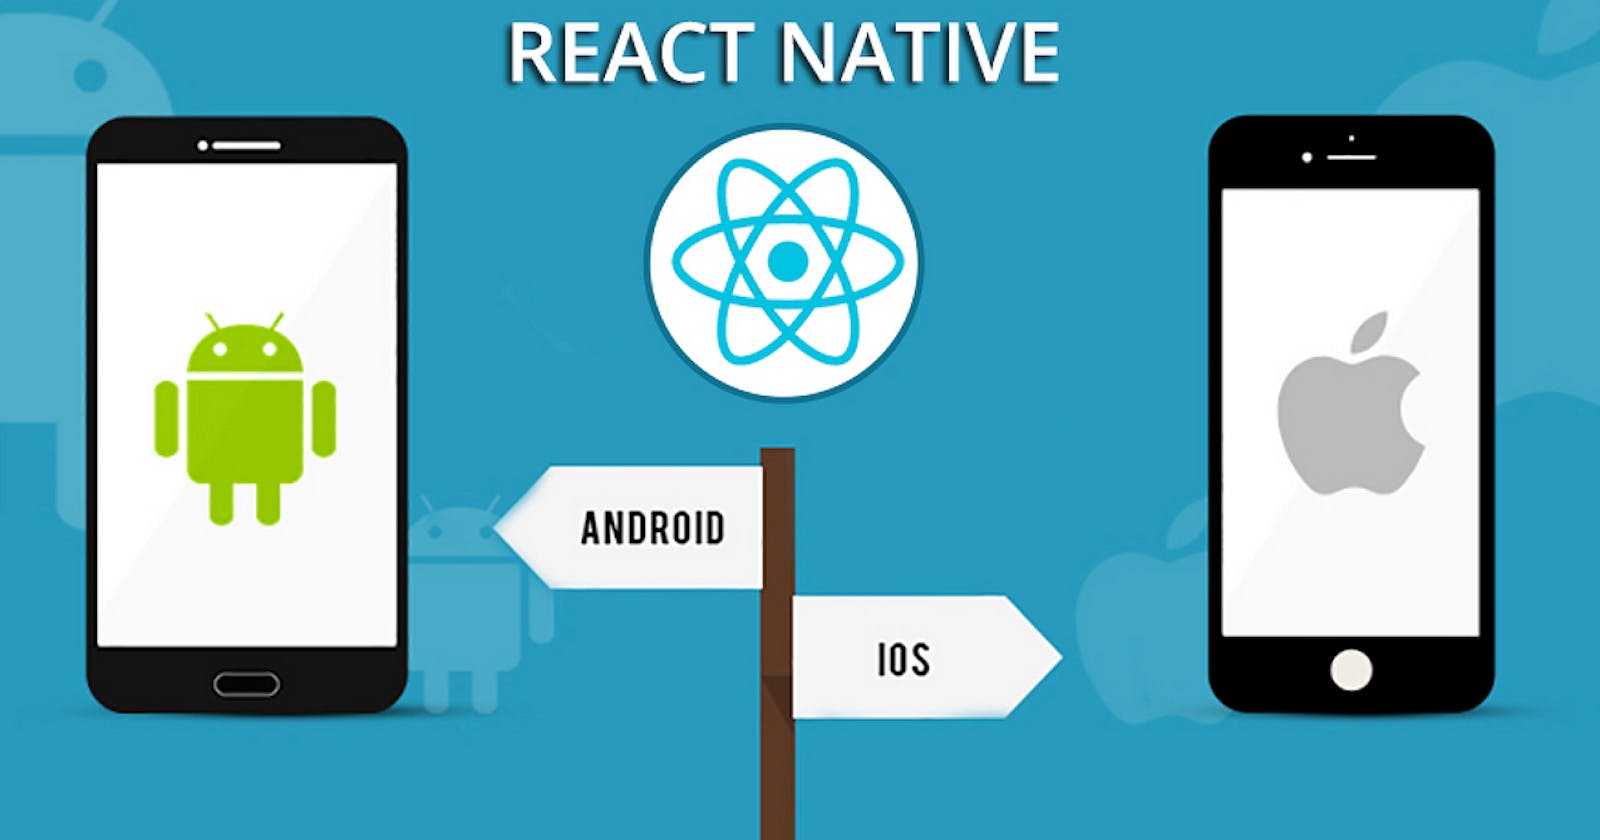
Mobile app development has become a pivotal part of the tech industry. With millions of users accessing content and services via smartphones, businesses and developers are constantly seeking efficient ways to reach their audience on both iOS and Android platforms. This is where React Native, an open-source framework created by Facebook, comes into play. React Native empowers developers to build mobile applications for both iOS and Android using a single codebase, thereby streamlining the development process and reducing time and effort.
Why Choose React Native?
1. Write Once, Run Anywhere
React Native's hallmark feature is the ability to write code once and use it on multiple platforms. This significantly cuts down development time and resources compared to building separate native apps for iOS and Android.
2. Native Performance
React Native is built on the concept of compiling code to native components. This approach ensures that the apps created with React Native deliver near-native performance. Users experience the responsiveness and speed they expect from a native app.
3. Rich Ecosystem
React Native benefits from a vast and active ecosystem of libraries, modules, and components. This rich repository of resources makes it easier for developers to access and integrate a wide range of functionalities into their apps, from complex animations to seamless navigation.
Getting Started with React Native
Before diving into React Native, it's essential to have a few prerequisites in place:
Prerequisites:
Basic knowledge of JavaScript and React.
Development environment set up for React Native, including Node.js, npm (Node Package Manager), and a code editor (e.g., Visual Studio Code).
Creating Your First React Native App
Follow these steps to create your first React Native app:
Step 1: Install React Native CLI
You need to install the React Native Command Line Interface (CLI) globally on your machine. You can do this using npm:
npm install -g react-native-cli
Step 2: Create a New App
Use the react-native init command to create a new React Native app. Replace MyApp with your preferred app name.
npx react-native init MyApp
Step 3: Run Your App
Navigate to your project directory and use the following commands to run your app on either iOS or Android:
For iOS:
cd MyApp
npx react-native run-ios
For Android:
cd MyApp
npx react-native run-android
Step 4: Start Coding!
Open your project in your preferred code editor and begin building your app.
Building User Interfaces in React Native
In React Native, you create user interfaces using a combination of JavaScript and JSX (JavaScript XML). Components, similar to React, form the building blocks of your UI. These components can be styled using CSS-like properties, allowing you to define the look and feel of your app.
React Native provides a core set of components for building UI elements, such as View, Text, Image, and TouchableOpacity. You can also create custom components to suit your app's specific needs.
Accessing Native Device Features
React Native simplifies the process of accessing native device features, such as the camera, location services, and sensors. It provides a wide range of built-in modules and libraries that allow you to integrate these features seamlessly into your app.
For instance, you can use the CameraRoll API to access photos and videos on a device, the Geolocation API for location services, and the DeviceEventEmitter module to work with sensors like accelerometers and gyroscopes.
Additionally, React Native supports the use of third-party native libraries when you need to access specific platform features or utilize specialized functionality.
Debugging and Testing
React Native offers robust debugging and testing tools to streamline the development process:
Live Reloading: With live reloading, you can see the changes you make in your code immediately reflected in your running app. This feature significantly speeds up the development and debugging process.
Hot Reloading: Hot reloading goes a step further, preserving the app's state while allowing you to modify its code. This results in a faster development cycle without the need to manually recreate app states.
Developer Menu: React Native includes a developer menu that provides quick access to essential debugging tools. You can use it to enable hot reloading, debug remotely, inspect components, and more.
Deployment
Once you've completed your React Native app, it's time to deploy it to app stores. The deployment process differs slightly between iOS and Android:
For iOS:
Follow Apple's guidelines for submitting your app to the Apple App Store. This involves creating certificates, provisioning profiles, and following their review process.
Use Xcode, Apple's integrated development environment, to package your app and submit it for review.
For Android:
Prepare your app for distribution on the Google Play Store. This includes configuring signing keys and creating a release build.
Use the Google Play Console to create a new app listing and upload your APK (Android Package) file.
After review and approval, your app will be available for download on the Google Play Store.
Conclusion
React Native is a powerful framework that simplifies cross-platform mobile app development. Its ability to share a single codebase between iOS and Android, coupled with near-native performance and a thriving ecosystem, makes it a top choice for many developers and businesses.
Whether you're a seasoned developer looking to streamline your app development process or a beginner eager to explore the world of mobile app development, React Native offers a versatile and efficient solution. Dive into the framework, build your app, and experience the magic of writing code once and running it everywhere.
Ready to start building? Get your hands dirty with React Native and embark on your cross-platform mobile app development journey!
